
The execution of external plastering requires careful balancing of material ratios, surface preparation, and sequential application to protect structural walls from harsh environmental elements.
While automated rendering machines are increasingly common on massive commercial sites, manual plastering remains the dominant method for residential and medium-rise commercial developments across Kenya.
Achieving a durable finish that resists cracking and moisture ingress depends on rigid adherence to a multi-stage technical process.
Before any mortar touches the wall, the masonry substrate must undergo rigorous preparation.
Workers must clean the surface thoroughly to remove dust, loose mortar droppings, oil stains, and efflorescence.
Any protruding structural elements or excess joint mortar must be chipped away to ensure a relatively even base.
For concrete surfaces, hacking is necessary to create a sufficient mechanical key for the plaster.
The next step involves pre-wetting the wall uniformly.
This prevents the dry masonry from rapidly sucking water out of the fresh plaster mortar, which would otherwise severely compromise the cement hydration process.
Establishing precise alignment guides, known as plaster dabs or screeds, is the next critical phase.
Plasterers apply small patches of mortar at strategic intervals across the wall surface.
Using plumb bobs and long straightedges, they align these dabs vertically and horizontally to establish the exact finished thickness of the plaster layer.
These dabs serve as a structural gauge, ensuring the final wall surface is perfectly plumb and true.
The standard thickness for external manual plastering typically ranges between 15 millimetres and 20 millimetres, often applied in two coats if the surface is highly uneven.
Mortar preparation requires strict volumetric batching.
A standard mix ratio of one part Ordinary Portland Cement (OPC) to four or five parts of clean, graded river sand is generally specified for external applications.
The sand must be free of silt and clay contaminants, as dirty sand is a primary cause of subsequent shrinkage cracks.
Water is added progressively until a workable, cohesive consistency is achieved.
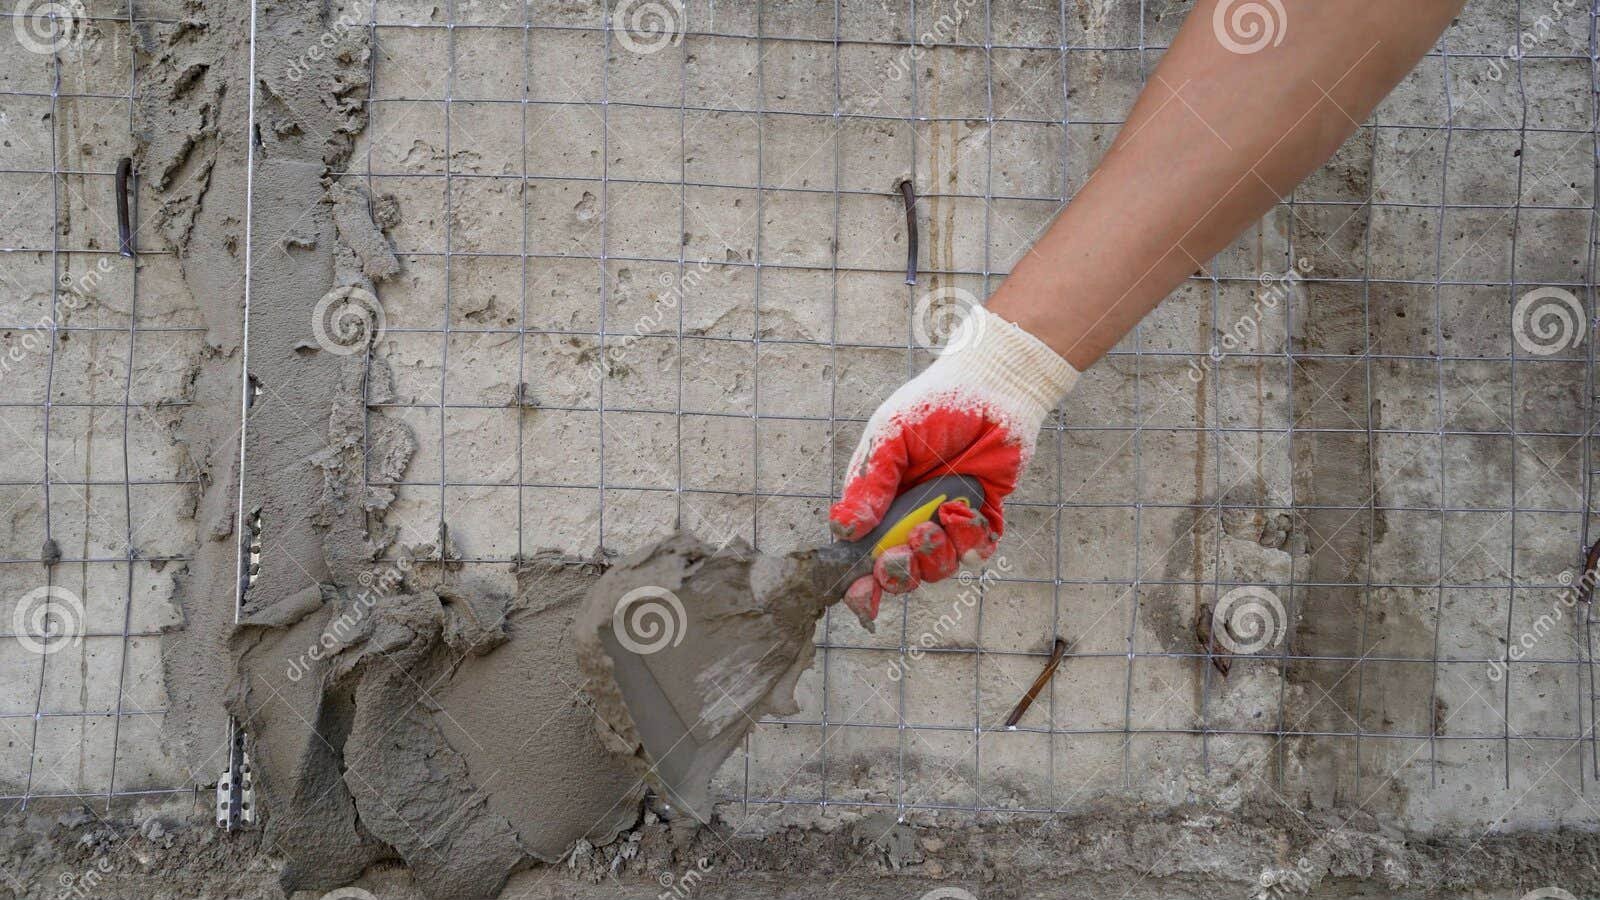
The application begins with throwing the mortar forcefully onto the prepared wall using a trowel, a technique that enhances initial mechanical bonding.
Plasterers then use a long aluminum straightedge, pulling it upward across the established mortar screeds to level the surface and remove excess material.
Once the leveling coat begins to stiffen, but before it sets completely, finishing operations commence.
Workers use wooden or plastic floats in circular motions to compact the mortar, close surface pores, and eliminate minor imperfections.
If a smooth finish is required, a steel trowel is used sparingly, though over-troweling must be avoided because it draws cement paste to the surface, increasing the risk of crazing.
Quality control does not end once the plaster is on the wall.
Curing is arguably the most critical phase for long-term durability.
The completed plaster must be kept continuously damp for a minimum of seven days by spraying it with water at regular intervals.
Proper curing ensures the cement attains its full design strength and significantly reduces drying shrinkage cracks.
Supervisors must inspect the cured plaster for hollow sounds by tapping the wall lightly, which indicates debonding between the plaster and the substrate.
Any hollow areas or deep cracks must be cut out in neat squares and replastered immediately.
Comments (0)
Leave a Comment
No comments yet. Be the first to share your thoughts!